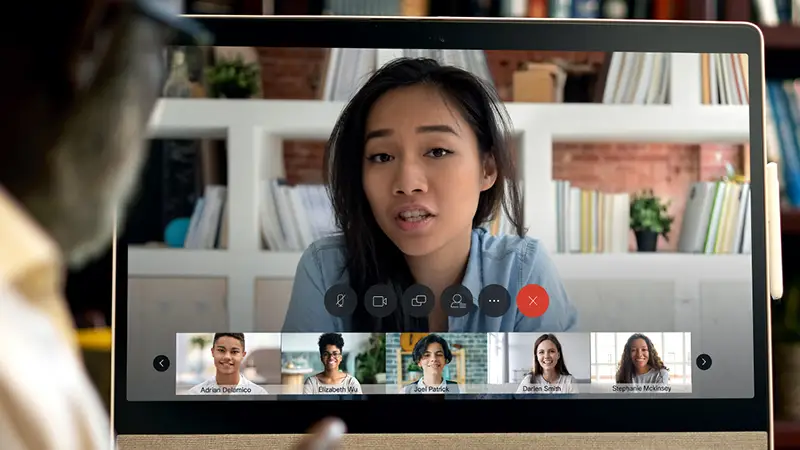
We are a trusted Cisco Certified Partner and Cisco Webex Service Provider in Hyderabad bring their brand loyalty to your doorways in the shape of their products and networking solutions that ease your IT work. We help you get the benefit of their excellence and innovation without any inconvenience. For Cisco Webex Plans & Pricing, Call us or Whatsapp at +91 7729921013 / 7207218938
Buy Cisco products from Hyderabad suppliers.
Webtouch IT Solutions is a dedicated company engaged in providing a wide range of IT products that help businesses in different ways. Our efforts of providing products to the maximum audience have earned us the credibility among the best Cisco Products Suppliers in Hyderabad. Our products are reliable, user-friendly, compact and easy to operate and available at competitive market prices.
We have a team to provide Cisco Switch, Cisco UCS, Cisco Room Kit, Cisco WIFI, Cisco Servers, Cisco Ironport, & Cisco IP Phones in {The Best service3 Company in {location} Hyderabad without disappointing our clients in any manner. We are trusted by people for our experience, expertise and dedicated customer support that stands us apart from the crowd. Our solutions and services are customized to your requirements, so feel free to discuss your requirements with us.
Being a leading Cisco Router Dealer & Distributor in Hyderabad, we also promise doorstep delivery of the products without any delays. To place an order, send your enquiry or call now at +91 7729921013. Our experts would be glad to assist you.
Request a Demo & Get a Cisco Webex Trial Account Free for 30 Days
Cisco Webex Sales & Support
Phone: + 91 7729921013 / 7207218938
Email: [email protected]
Cisco Webex Free Trial Account Features:
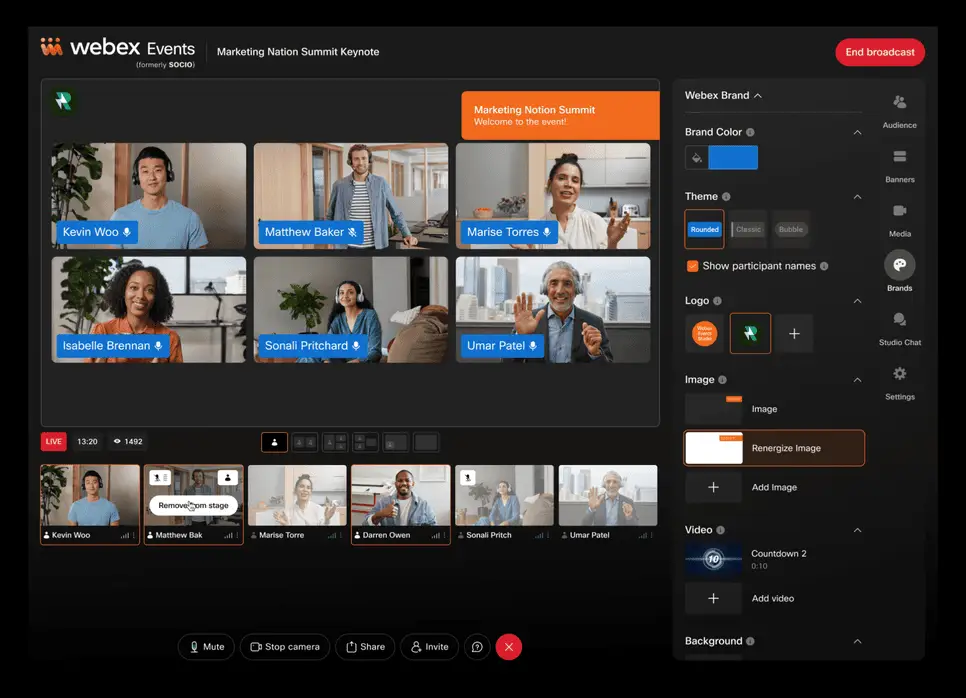
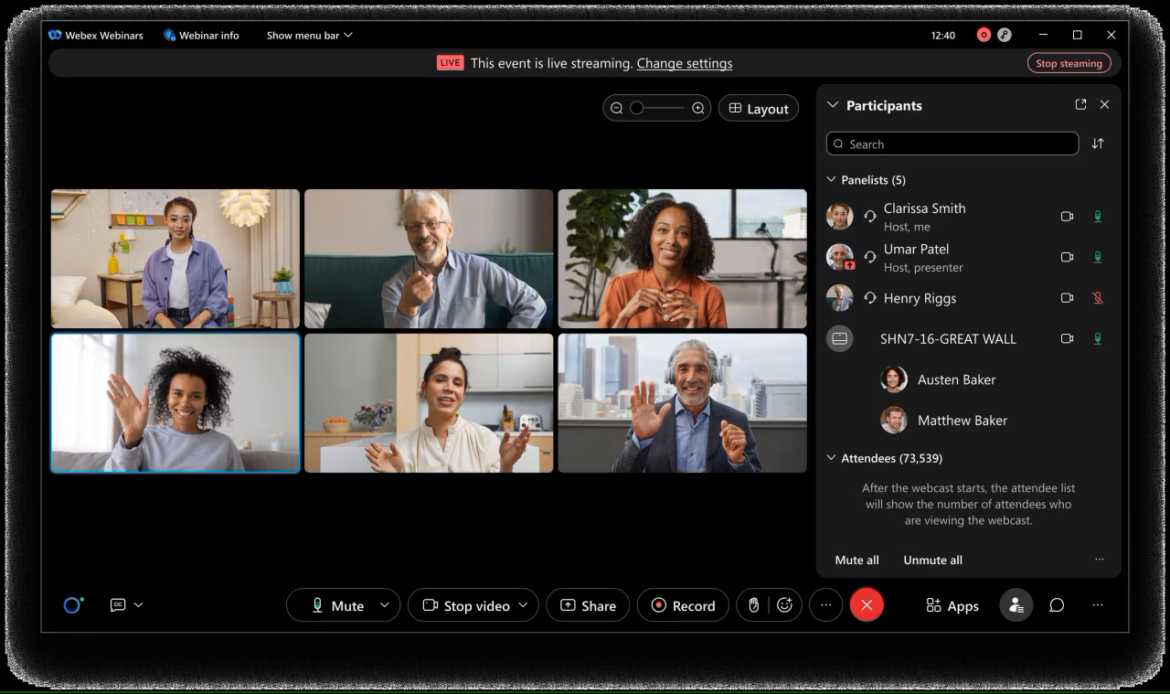
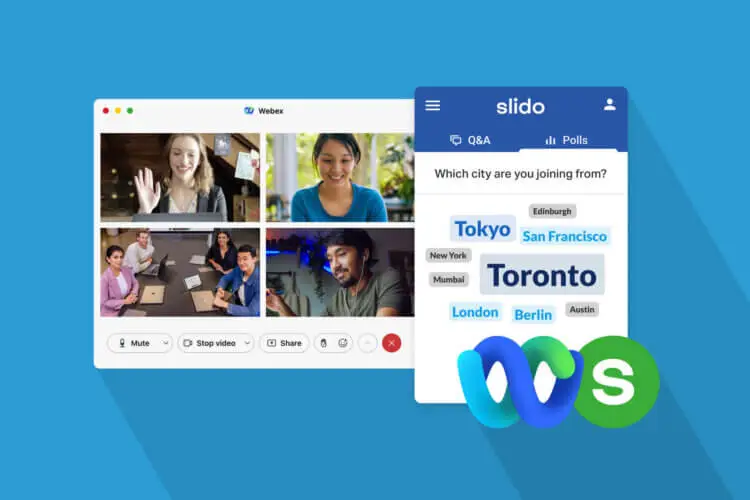
Join Meetings or Webinars Up to 1000 Participtants, HD Video & Audio Conference, Branded Webex Url, Screen Sharing, Application Sharing, Presentation Sharing, Notes, Chat, Polling, Slido, Cloud Recording, Meeting Playback, Live Streaming to Facebook & Youtube, Cisco Webex Technical Support 24X7X365 Days and many more
MON-SAT 09:00 Am- 20:00 Pm, SUN 10:00 Am- 04:00 PM
F.A.Q
We are a company that sells different types of Cisco products in India, including Cisco Webex Cloud Video Conference, Cisco Cameras, Video Conference Devices, Routers, Switches, and UCS devices.
Need help with Cisco Webex? Ask Us!
Webtouch IT Solutions is a trusted Cisco Partner and aim to deliver the trusted brand loyalty to doorstep. With dedicated team of professionals and mission to excel, we have become a sought-after name in the market. We also ensure the Cisco products and services are available at industry leading prices without compromising in the brand quality.
The features that make us one of the most reliable Cisco Products Suppliers in India are as mentioned below –
- Genuine Cisco products
- Cisco Webex Meetings, Webex Webinar, Webex Events, Webex Support, Webex Calling, Webex Messaging, Cisco Room Bar Pro, Cisco Desk Camera Etc
- Availability of Structured Cabling Solutions
- Providers of LAN Cabling Solutions Services
- Rich experience and profound knowledge in the domain
- Round the clock customer support available
We have become one of the most popular name in the Indian market. The reason is our competence to cater the varied needs of different industrial sectors of the society. Our patron list includes clients from sectors like Retail, Manufacturing, Hospitality, Government, Education, and BSFI. With quality products and prompt services, we have become the sought-after choice in the market. We are the best Cisco Webex Supplier in Hyderabad
We have gained huge appreciation as a trusted UCS Dealer in India. Apart from Cisco products, we are also known for providing various professional services. Some of the highly demanded are Rental Service, Structured Cabling Solutions, Cisco Webex Service, Cisco Umbrella Service, Cisco Email Security Service, Amazon Web Services, BPO Solution, RF & UHF Based Solution, and more. Professionals are hired and utmost satisfaction is assured. The team is also available round the clock with assured assistance.
Bookkeeping Questions
Being the suppliers of Cisco Products and Services, you can easily contact us to avail the same. There is an online query form available on the website. Fill in your details and requirements, a call back will be arranged shortly. You can also call us directly or drop an email regarding your requirement. Moreover, you can also visit our office, the address is mentioned in the ‘Contact Us’ section of the website.
There are several reasons why using Webex for collaborating with others online can be beneficial for your work. Firstly, Webex provides you with a reliable and user-friendly platform that allows you to connect and work with colleagues, clients or partners regardless of where they are located. Secondly, Webex offers a range of features and tools that enable you to communicate effectively, such as video conferencing, screen sharing, whiteboard, virtual backgrounds, recording, and more. This can help you to enhance collaboration, increase productivity, and save time and costs associated with travel. Additionally, Webex prioritizes security and privacy, ensuring that your confidential information remains protected. Finally, Webex enables you to integrate with other applications, making it easier to coordinate your work across different platforms. Overall, using Webex for working together online can help you to achieve your goals more efficiently and effectively, while enjoying a seamless and streamlined experience.
Webex, a video conferencing platform, takes the security and privacy of its users very seriously. Webex uses end-to-end encryption to ensure that data transmitted during meetings or events cannot be intercepted and deciphered by unauthorized parties. The platform also employs various security measures to protect against unauthorized access, including firewalls, intrusion detection systems, and regular security audits. Additionally, Webex allows users to control access to their Webex meetings and events with features such as passwords and waiting rooms. While no technology can guarantee absolute security, Webex is committed to constantly improving its security measures to stay ahead of potential threats and protect its users’ data privacy. Therefore, it is safe to use Webex for all your communication needs, whether it is for business or personal use.
Cisco Webex Meetings is a highly versatile video conferencing platform that boasts a wide range of integrations with other tech solutions. With a seamless approach, Cisco Webex Meetings can easily work and integrate with your current tech investments, giving you a holistic view and experience for your video conferences and meetings.
By integrating with other tools, you can now experience several benefits such as ensuring all your solutions work together and complement each other in order to balance the productivity and efficiency of your team. Additionally, this ensures easy access to all your critical data and information all in one central location, improving productivity and reducing human error. The benefits are endless, and this is yet another proof of how Cisco Webex Meetings can significantly improve your business’s bottom line while still maintaining an effortless approach to video conferencing.
Certainly! We have highly qualified and attentive individuals who are available to offer assistance to you in real-time. With our team of dedicated experts, you can rest assured that we will provide you with the necessary support that you need. Our team is readily available to assist you with any questions or concerns that you may have, and we take pride in our ability to provide you with timely and effective assistance. We understand that sometimes you need an extra hand, and we are here to help you every step of the way. So don’t hesitate to reach out to our team for real-time assistance, and we will ensure that you receive the help and support that you require.





 on the top right of the identity card, then click Delete account > Ok.